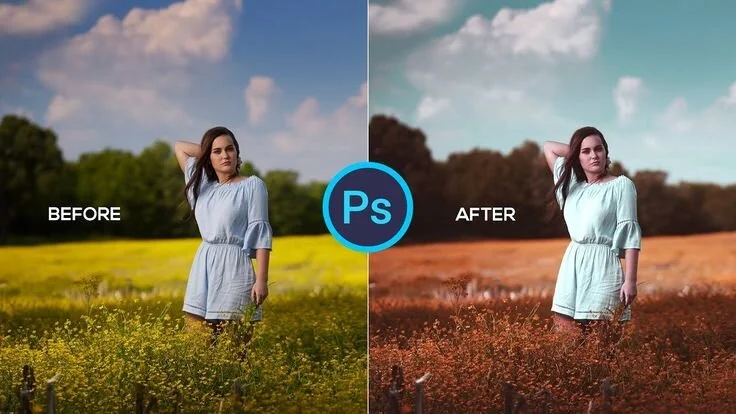
Dos & Don'ts of Color Correction/Grading

Color correction and color grading, the adjustment of proper exposure/shadows and mood-setting respectively, are important but sometimes overlooked.
For new-to-novice video editors, color correction and grading may be the type of editing you kinda know but should probably get a little better at. In today’s post, we will fill you in on a few on-the-fly tips that pros use.
1. Consider Color Correction BEFORE Shooting
Your work should begin even before shooting, and while there are a wide array of pre-settings available online, it's best to avoid default color profiles. Instead use "flat" color profiles which allow more flexibility when editing in post. You can do this by limiting the amount of in-camera color you’re using.
When preparing for a shoot, adjust shadows, highlights, midtones and saturations in that order. By this we mean consider decreasing shadows during the day and increasing highlights to provide a good contrast without overexposing anything. Saturation should come at the end, and only in the event that you want a more vibrant image.
2. Sometimes Separate, Sometimes Saturate

If you're about to turn up the saturation to get that colorful pop, you should also consider using split-toning, which is getting cooler colors into the shadows while boosting warmer colors in the highlights. This will add some depth to the shot. Always consider separating before saturating.
3. Invest In The Tools

From your monitor down to your editing software of choice, the tools you use matter. For monitor specs, look for something that has at least 90% of the range for sRGBor REC.709 color space (standard camera encoding color space for HDTV). Your budget will determine what software you're using, but for a starting point, Premiere Pro offers solid color correction as a part of its suite and is easy to use.
4. Avoid The Common Mistakes

There are a few cardinal rules with color correcting/grading, so it’s best to learn from others here.
Don't overgrade when "crushing the blacks," and similarly make sure your shots are always white balanced.
Don't forget to match the color grading between shots, and ensure your keys/tracking are tight.
As we outlined earlier, make sure your monitor is calibrated and capable of handling your color space.
Take some breaks between edits to refresh your eyesight, so as to avoid over-grading when you're tied up by a deadline.
5. Keep Creativity Cooking

It's easy to stick to the status quo and industry expectations when starting off as a newbie, but it’s important to experiment when time allows. We all know when we're supposed to feel gloomy or anxious based on certain gradings, but there's more to be explored. Consider how vastly different the visuals are between Michael Bay's Transformer pentalogy and any of Wes Anderson's filmography. There are so many different tools and techniques, meaning lots of potentially uncharted territory when it comes to unique styles. And when you find something that works, take notes and save those settings.